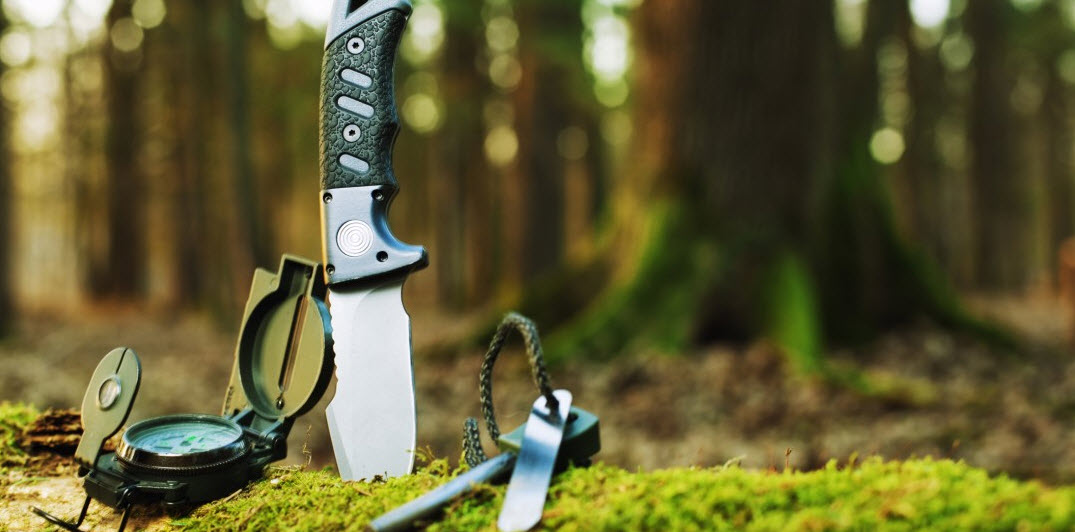
Whether you want gear ready because you’re a hardcore survivalist or you just want to be ready in the case that a hiking or camping trip goes south, there is a lot of survival gear available to you. A lot of this survival gear comes at a high cost, though. Not to mention, there isn’t anything quite as satisfying as knowing you can make your own gear.
There’s a lot of potential gear that you can DIY. Here, we will take a look at 7 choices that you absolutely must own.
Page Contents
1. Create Your Own Fire Starter
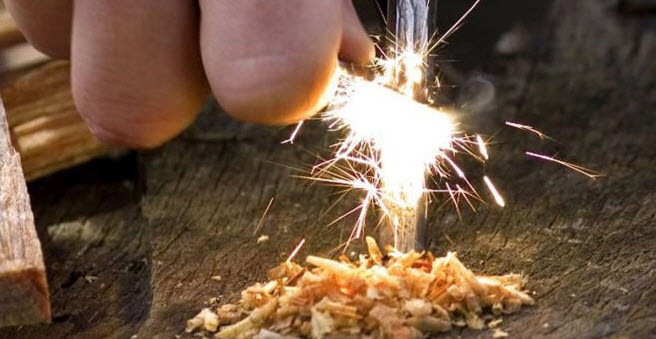
Fire is a basic need in a survivalist situation. It’s needed for warmth and cooking at the very least. When it comes to starting a fire, however, nothing is guaranteed. Your matches might not light your kindling or the weather could be against you. That’s why you need to carry a nearly foolproof fire starting kit.
The easiest way to do this is to use cotton balls and petroleum jelly – Vaseline is the most popular brand.
Take your cotton balls and roll them in your petroleum jelly. Make sure they’re coated but don’t soak them in the jelly. Then, simply roll them into a zip-top bag and store them where they’re handy. When you need a fire, a spark should light these up easily.
2. DIY Water Filtration System

Without water, dehydration is soon to follow. This can be a dangerous situation that you want to avoid at all costs. Except for the cost of drinking contaminated water.
Drinking water that isn’t safe is a quick way to invite bacteria and viral infections into your body. Needless to say, this can hurt your survival chances rather than increase them. So, a good thing to keep handy is your very own DIY water filtration system.
For this project, you’ll need a pill bottle, a cap from a bottle of water, and another cotton ball left over from the last DIY.
To start, drill tiny holes in your water bottle cap like it’s a salt shaker. Then, drill a larger hole in the bottom of the bottle approximately the size of your finger. Push the water bottle lid top down to the bottom of the prescription bottle and fill the rest ¾ of the way with cotton.
Now you can pour water in the top and trust it to be filtered as it pours out of the bottom.
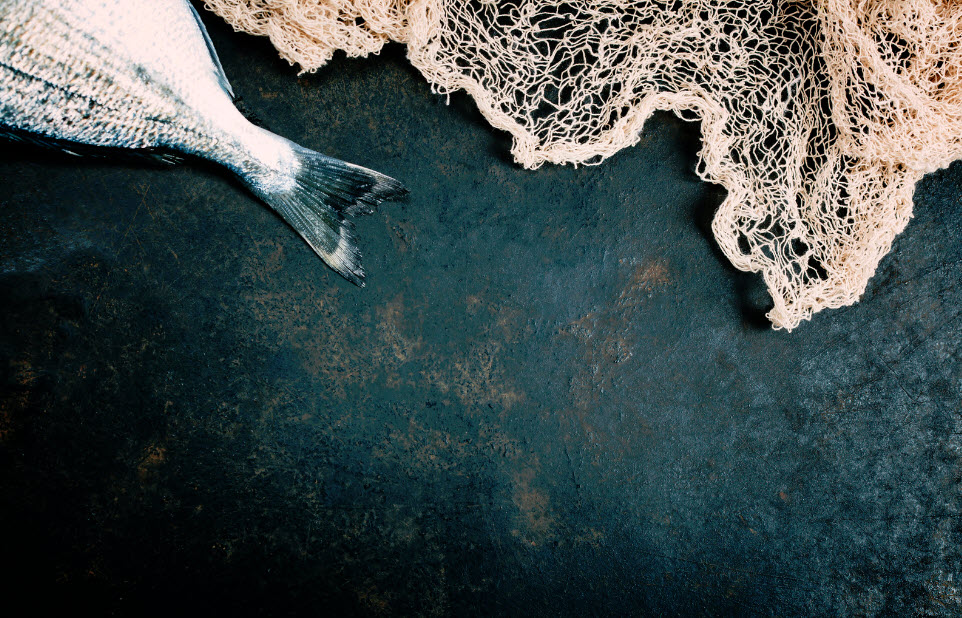
3. DIY Fishing Rod

In a survivalist situation, you might need to catch your own food. If you are near a body of water, an option you have is to fish for your food. In these cases, you’ll need to be able to fashion a fishing rod.
First, find a sapling branch. You should be able to bend this but if it feels like it’s going to break or snap, it isn’t strong enough. You’ll also need a hook and cordage. This is one reason you should keep paracord on you. If you have a length of fishing line, this will obviously work as well. For the hook, you can also snap a soda can tab into place.
Take the cord and tie securely it to the end of the branch and thread the hook at the end of the cord.
4. Make an Oil Lamp
While a fire is a great source of light, that campfire won’t help you too much if you are on the move.
For this, gather an old mint tin, fuel, and a wick. As for the wick, you should use something natural because polyester choices will melt rather than last. Olive oil is a great choice for fuel because not only does it burn, but it also doesn’t smoke or smell. A splash of this fuel on the ground won’t catch fire like kerosene either.
Use a knife to poke a hole in the top of the tin for the wick and another hole slightly to the side to allow airflow. Insert the wick with a length curled in the bottom of the tin and add the fuel. Make sure that you don’t fill it so much that it leaks.
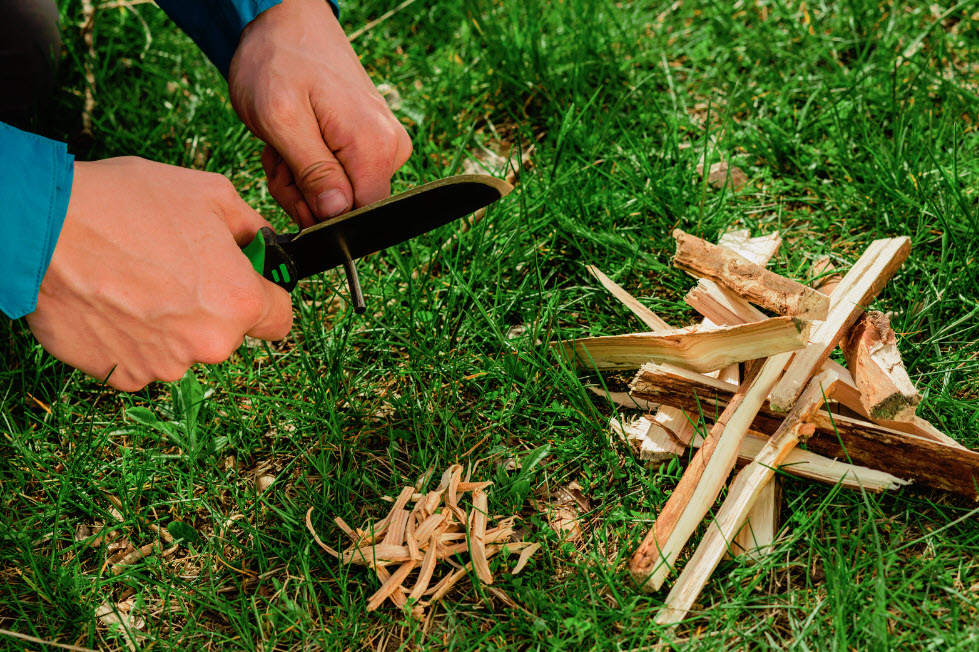
5. Rope or Cordage
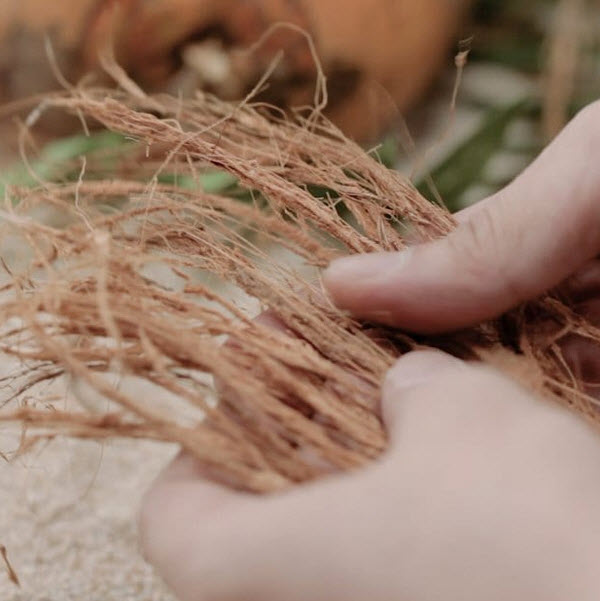
We’ve already mentioned a couple times on this list that cordage needs to be used in a DIY. So, it only makes sense that you should know how to make your own.
First, look around and see if you have any ash, maple, elm, cedar, or oak trees. You need the fibers between the bark and the wood of the tree. Next, strip these fibers into lengths. If it’s difficult, a quick tip is to boil the bark. Then, roll them in your hands to make them stronger. Alternatively, you can twist them into position.
Now, all you need to do is to braid these fibers into a rope. It’s a good idea to practice this technique before you are forced to do it in a survival situation.
6. Make a Simple Slingshot

A slingshot is lightweight, easy to carry weapon that is simple to make to as well. In a survivalist situation, it can be used for self-defense and even to hunt small game.
To start, you’ll need a Y-shaped stick, flexible tubing, a piece of leather, dental floss or string, and a knife. For your stick, the “Y” should be about a 30-degree angle. Make sure this is a stick that will last.
Cut two holes in your leather pouch to thread the tubing through it. Make a shallow notch in each half of the “Y” to hook the tubing into and wrap it around each arm. Use your string to tie it in place.
7. Collect Rainwater with Plastic Bags
While it’s not the first way most survivalists would collect rainwater, this is a DIY that you should know in a pinch. As we said earlier, fresh, clean water is crucial. It isn’t a given that you’ll always have a bucket or tarp on hand, though. In these cases, dig holes in the ground and line them with plastic bags – trash bags work well. After it rains, simply use the collected water as needed.
Even though rainwater is often clean, it’s still a good idea to run it through the filtration system you made earlier. This is doubly true if the water has been sitting for a while.