Water is one of the most important elements of human survival. Many people get caught up with the idea that food is the top priority. Those people would be dead before they had a chance to realize their mistake. The human body cannot survive more than three days without water. Sure, there are exceptions, but who wants to try and live that long when dehydration will have made you so weak and sick life is unbearable.
Your top priority in a survival situation should be finding shelter if the weather is extremely hot or cold and then water. If you are lucky enough to be in 70 degree weather, forget the shelter and find water. With that said, you must recognize all water you find in the wild is not safe to drink. That stream with the crystal clear water is no safer to drink from than that nasty pond water.
You have to have a way to purify your water. If you don’t have a way to boil your water and you didn’t pack along any water purification tablets, your last chance is a water filter. If you don’t have one of those handy, its okay, you can make one from stuff you find in your environment.
Follow these simple steps to make a water filter in an emergency.
1-Look for an empty water bottle or used soda bottle. You could even use an empty milk jug if that is all you can find. Rinse the bottle in the river, stream or lake. Cut off the bottom of the container. Only cut off the bottom half inch or so.
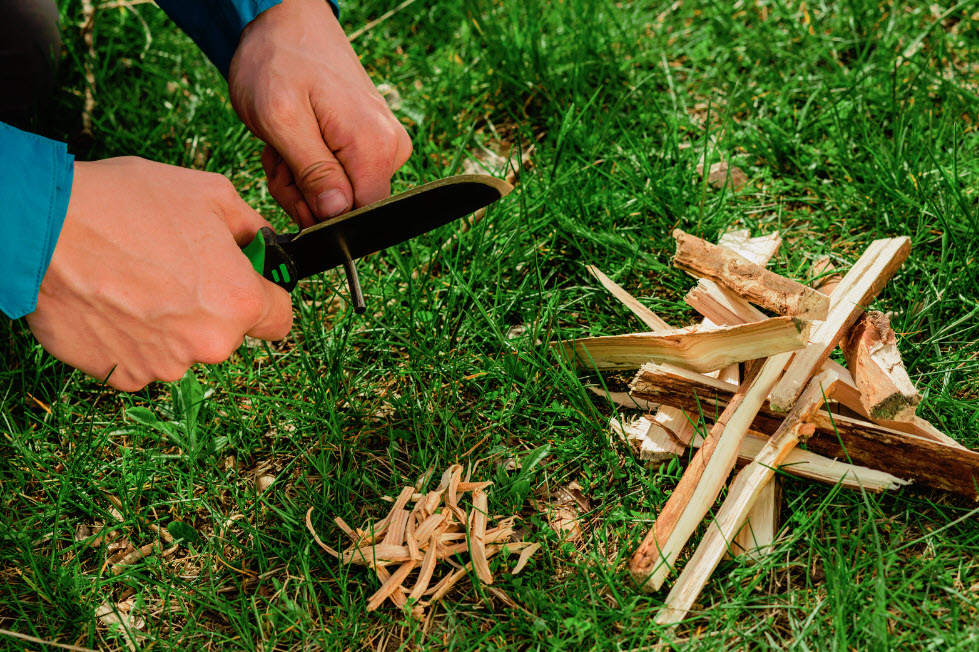
2-If you have had a campfire, grab the cool charcoal from the edges. If you haven’t had a fire yet, look around the area for remnants of a fire. You can also look at trees. Often times lightning leaves charred trunks that are a source of charcoal. Put the charcoal into the container with the top facing down. You want at least an inch of charcoal. The more you can add, the better the filter.
3-Next you will want to look for sand. You don’t want dirt that will turn to mud. It needs to be a fine sand that will allow the water to pass through without making balls of dirt. Fill the bottle about a third of the way up.
4-Now you will want to find some gravel or small pebbles. Fill up another third of the bottle with rocks. It is a good idea to rinse the rocks before adding them to the filter. It will cut down on the dirty appearance of the water.
5-The next layer isn’t entirely necessary, but it will help. It can also substitute for the pebbles if you simply cannot find any. Use dandelion leaves or other edible leaves. You want plant portions that are edible to prevent poisoning your water. Pack the leaves and stems into the top portion of the bottle.
6-Your filter should be filled with 3 to 4 layers of filtering material. For a little added filtration and to stop large floaters from getting into your filter, place the corner of a t-shirt or a bandana over the bottom.
7-Put a bowl or cup under the small end of the filter. Slowly pour water through the filter. The water should move slowly through the filtering system. If it just pours through, you need to pack your materials a bit tighter. You want the process to be somewhat slow with a steady stream coming out the old opening.
This filter will work in a pinch. It is not going to be perfect and it will not get out every contaminant. Expect the first few passes of the water to come out a little dark as the water runs through the charcoal. If the color bothers you, run it through the system again. Truly, the water is about as safe as you are going to get it, despite the off coloring.
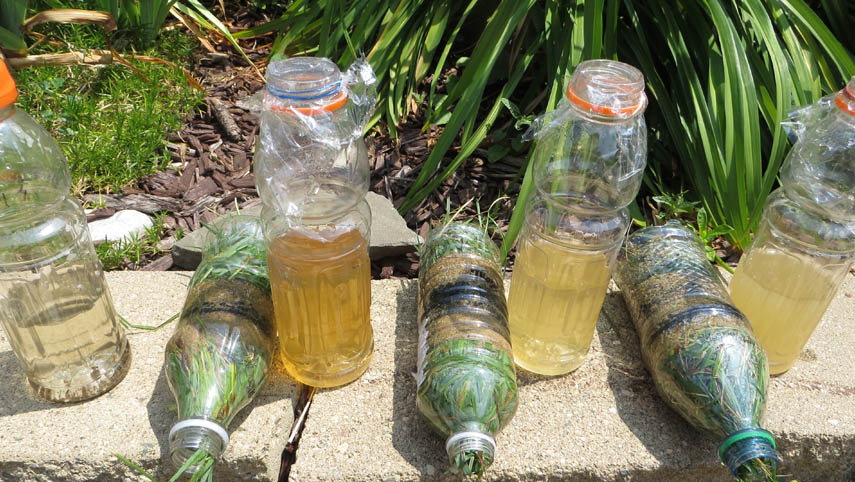
Your water filter from trash is great when you are in a hurry, but there is another option for purifying your water if you have a day to wait and the sun is out in all its glory for at least 8 hours. Look for a water bottle or plastic vessel that is BPA free. This could be a little more difficult than finding any old bottle, but there are plenty of plastics that are being produced without harmful chemicals. Really, you want to find a water bottle or soda bottle that has a 1 in the center of the recycling circle on the bottom of the bottle.
The bottle should be 2 liters or smaller and it must be clear. Green plastic is not going to work. You also cannot use glass. Filter the water as best you can by running it through a cloth. If you have lots of time, filter your water with the above method and then put it in the solar purification bottle.
Place the filled bottle of water in the direct sun, on its side. If you can, place the bottle on a rock or a reflective surface to really get the water inside the bottle nice and hot. Allow the bottle to sit in the sun for at least 6 hours. If it is particularly cloudy, you will need to leave the bottle in the sun for a good two days.
A few tips about collecting water to clean for drinking.
- Pull water from the middle of a body of water. This will help eliminate excess sediment from the bottom and algae and bugs that hang out at the top.
- Do not pull water from a source that has chemical contaminants—there is no filtering or purifying chemicals out of the water.
- Water that is steadily moving is better than stagnant water.
These methods will sustain you until you can get to a place where you can boil your water, which is truly the ideal option for purifying water.